1. Center the mesh upon the cotton strip.
Tips:
a. Make sure the flat side of the mesh is toward the cotton.
b. Center the mesh horizontally as well as vertically.

2. Wrap the mesh-and-cotton around the thinner end of the coiling rod.
Tips:
a. Mesh towards the rod and cotton on the outer side.
b. Mesh leads should be in the same direction as the thinner end of the rod.


3. Pinch the wrapping cotton tightly and align the excess cotton with the slot cut on the coil shell.


4. Slide the whole thing into the shell while leaving the excess cotton sticking out from the slot.
Tips:
a. It is much easier to slide the cotton in if you pinch the cotton edge tighter.
b. Keep the coiling rod in. It’s not the right time to pull it out yet.


5. Now you see there are two mesh leads standing next to each other out there. Just pick either one you like, or pick the one near the notch on the coil shell, then bend the lead you picked into the notch, leaving the other lead alone.

6. Find the insulator ring and thread the left-alone lead through the ring, then give the ring a press-down to get it into the coil shell.

7. Insert the contact pin (the golden object in the accessory bag) into the insulator ring, trapping the left-alone lead between the two.


8. Now, cut off the excess leads and cotton, pull out the coiling rod.
Tips:
Cut the cotton against the shell wall so the amount of cotton should be just right.

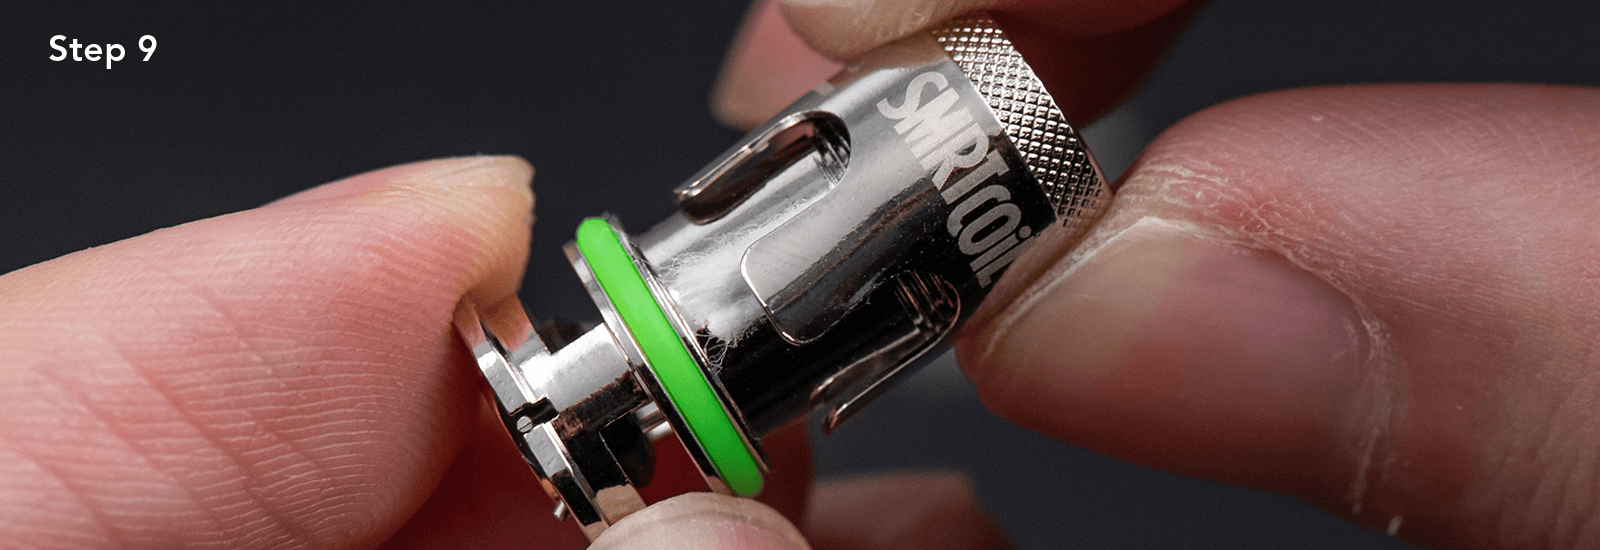
9. Screw the outer shell on. All is done.

Before

After


